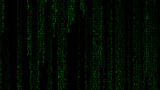
コードの雨“3D”!
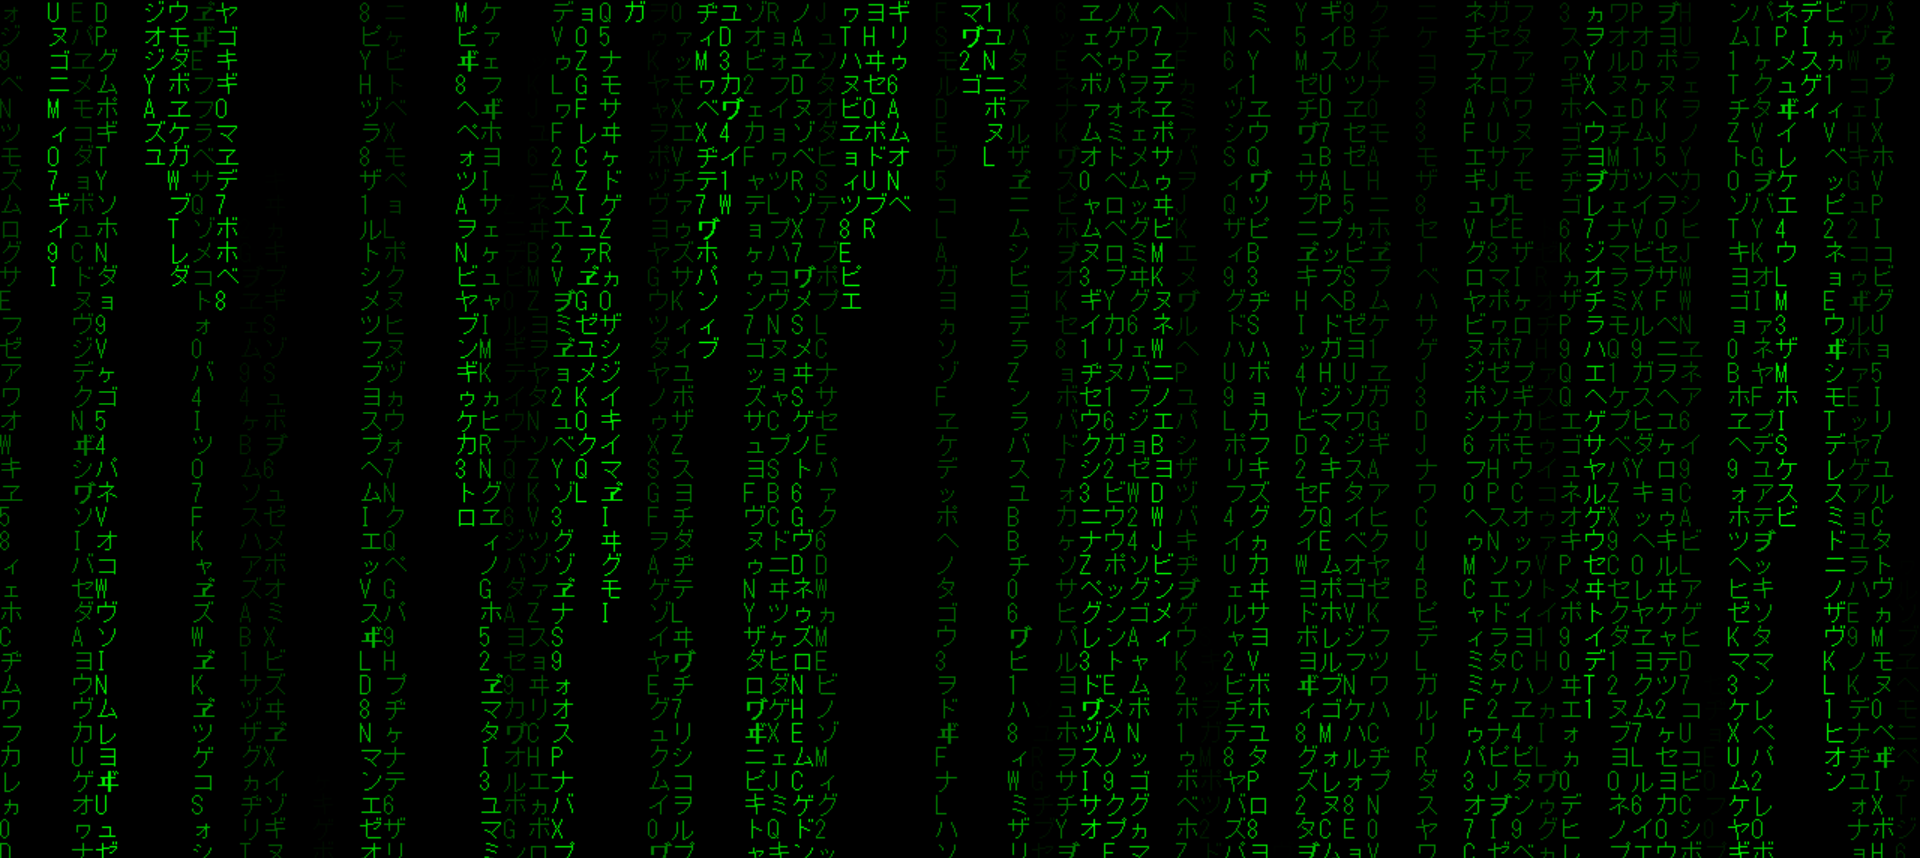
前回作った、映画「マトリックス」風のコードの雨が流れる画面に、「Three.js」を用いて3Dのズームを加えてみました!

前回の記事↓
参考資料
ソースコード
HTML(index.html)
<!DOCTYPE html>
<html>
<head>
<meta charset="utf-8"/>
<script src="https://unpkg.com/three@0.131.3/build/three.min.js"></script>
<script>
// ページの読み込みを待つ
window.addEventListener('load', init);
function init() {
// サイズを指定
const width = window.innerWidth;
const height = window.innerHeight;
// レンダラーを作成
const renderer = new THREE.WebGLRenderer({
canvas: document.querySelector('#myCanvas')
});
renderer.setPixelRatio(window.devicePixelRatio);
renderer.setSize(width, height);
// シーンを作成
const scene = new THREE.Scene();
// カメラを作成
const camera = new THREE.PerspectiveCamera(75, width / height);
camera.position.set(0, 0, 700);
//キャンバスを作成
let canvas = document.createElement( 'canvas' );
let context = canvas.getContext( '2d' );
canvas.width=window.innerWidth;
canvas.height=window.innerHeight;
//出力文字の候補
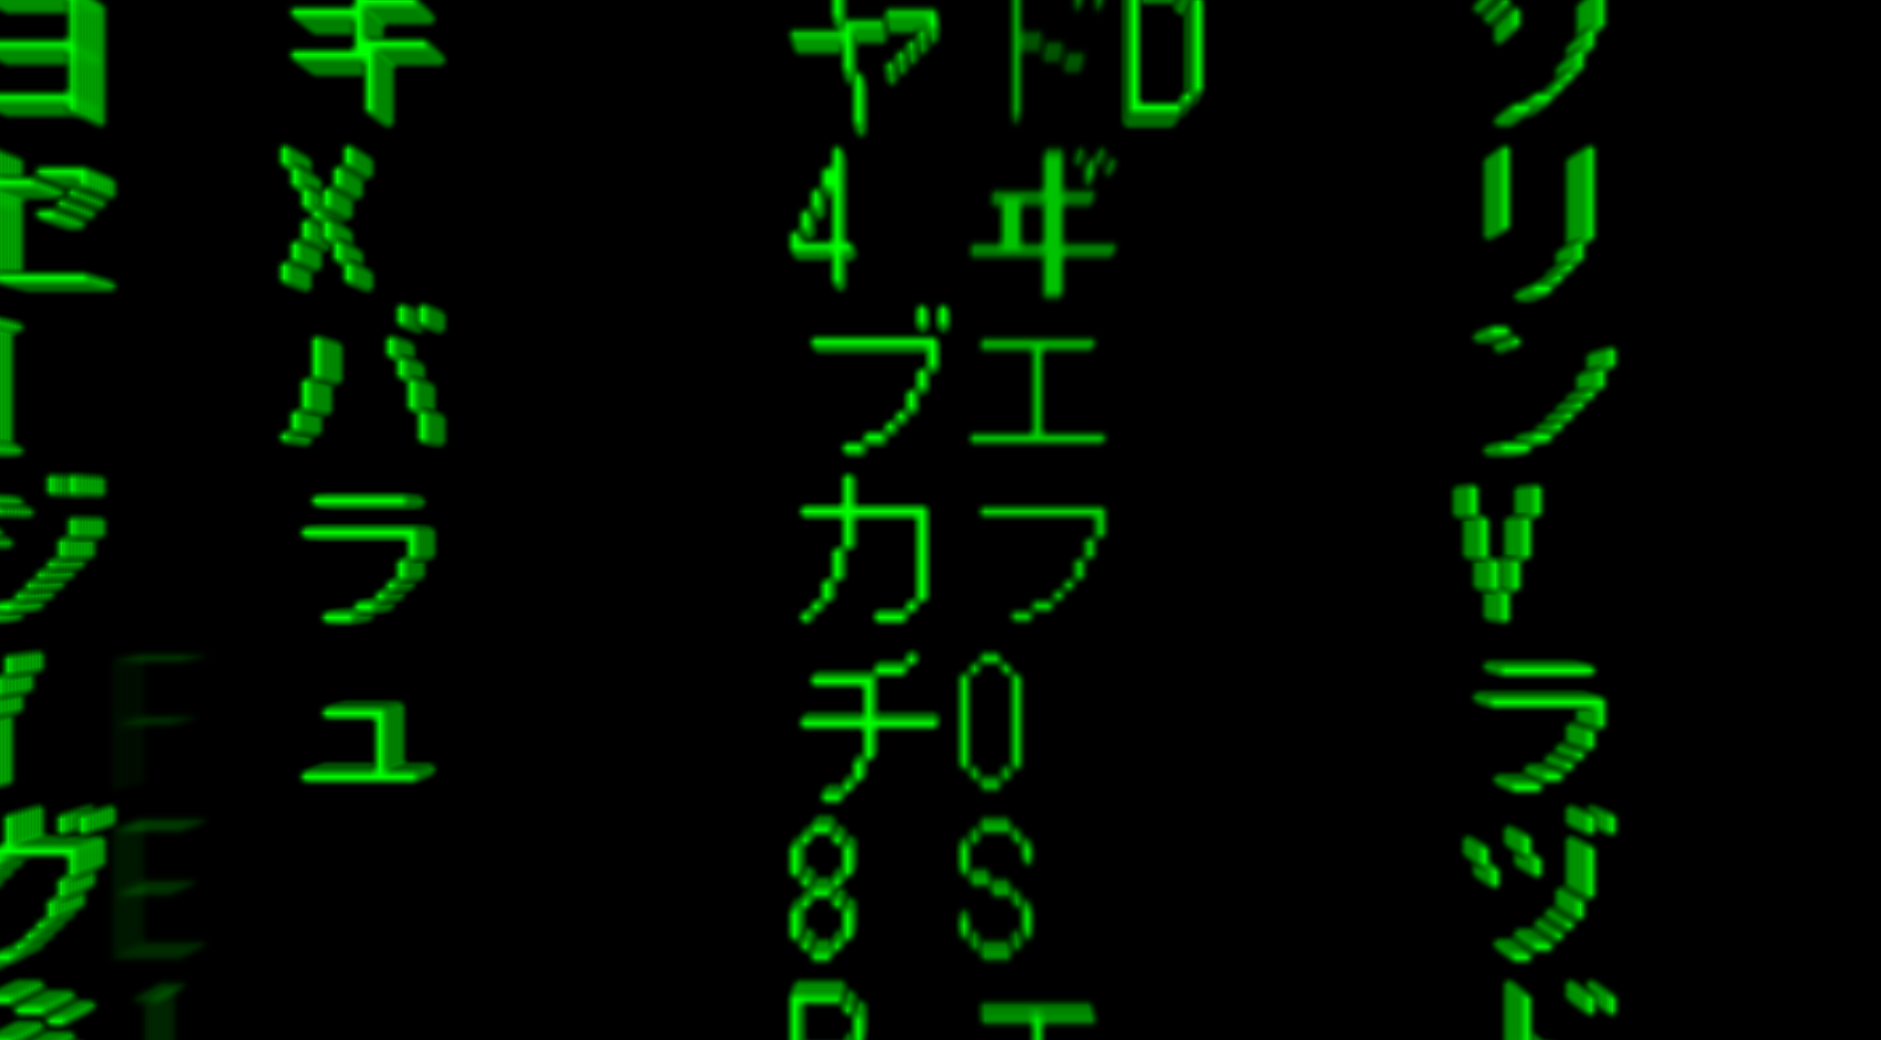
const katakana="ァアィイゥウェエォオカガキギクグケゲコゴサザシジスズセゼソゾタダチヂッツヅテデトドナニヌネノハバパヒビピフブプヘベペホボポマミムメモャヤュユョヨラリルレロヮワヰヱヲンヴヵヶヷヸヹヺ";
const latin="ABCDEFGHIJKLMNOPQRSTUVWXYZ";
const nums="0123456789";
const alphabet=katakana+ latin+nums;
//出力文字サイズ
const fontSize=16;
//行数列数決め
let colums=canvas.width/fontSize;
let lines=canvas.height/fontSize
//落ちるコードを管理する配列
let rains=[];
//落ちるコードのコンストラクタ
let Rain=function(context,i,text,rainDrops){
this.context=context;
this.i=i;
this.text=[];
this.rainDrops=rainDrops;
};
//落ちるコードの描写
Rain.prototype.draw=function(){
context=this.context;
context.fillStyle="#0F0";
context.font=fontSize+"px monospace";
//出力文字決め
this.text.push(alphabet.charAt(Math.floor(Math.random()*alphabet.length)));
//薄くなっていく処理
for(let j=0;j<this.rainDrops;j++){
context.globalAlpha = 1.0-1.0*(j/lines);
context.fillText(this.text[this.rainDrops-j-1],this.i*fontSize,(this.rainDrops-j)*fontSize);
};
//画面外に出たときの処理
if(this.rainDrops*fontSize>(canvas.height*2)&&Math.random()>0.975){
this.rainDrops=0;
this.text=[];
}
//下に一文字分下がる
this.rainDrops++;
};
//落ちるコードインスタンスを列の数だけ
for (i = 0; i < colums; i++) {
rainDrops=1;
text=[];
rain=new Rain(context,i,text,rainDrops);
rains.push(rain);
};
//実行関数の作成
function go(){
//キャンバス上クリア
context.clearRect(0, 0, canvas.width, canvas.height);
//格納されたrainsの各要素を実行
for(i=0;i<colums;i++){
rains[i].draw();
}};
// テクスチャの作成
let texture = new THREE.Texture( canvas );
texture.needsUpdate = true;
//平面を作成
const geometry = new THREE.PlaneGeometry( width*2, height*2, 300 );
const material = new THREE.MeshBasicMaterial( {map:texture,transparent:true} );
//文字を重ねて立体感を表現
let planes=new Array(10);
for(i=0;i<10;i++){
planes[i]=new THREE.Mesh( geometry, material );
scene.add(planes[i]);
planes[i].position.z=0.5*i;
}
renderer.render(scene, camera);
tick();
//毎フレーム時に実行されるループイベント
function tick() {
texture.needsUpdate = true;
go();
//全ての平面をz方向に移動
for(i=0;i<10;i++){
planes[i].position.z+=0.5
}
//全ての平面が画面外に行った時の処理
if(planes[0].position.z>700){
for(i=0;i<colums;i++){
rains[i].rainDrops=height;
if(planes[0].position.z>701){
for(j=0;j<10;j++){
planes[j].position.z=0.5*j;
}}}
};
renderer.render(scene, camera); // レンダリング
requestAnimationFrame(tick);
}
}
</script>
</head>
<body>
<canvas id="myCanvas"></canvas>
</body>
</html>Three.jsの読み込み
今回、Three.jsの読み込みはCDNを用いています。
ヘッダに <script src="https://unpkg.com/three@0.131.3/build/three.min.js"></script>と入力してあります。
カメラを作成
PerspectiveCamaraを作成し、視野角を75とします。
そして、後に設定する「平面」がウィンドウのサイズいっぱいになるように、z座標を700としておきます。
キャンバスを作成
ここで前回のコードの雨のキャンバス要素を記述します。
平面のテクスチャとして読み込むため、今回は、document.getElementById( 'canvas' )ではなく、document.createElement( 'canvas' )となっています。
平面を作成
形状オブジェクトのサイズはウインドウいっぱいになるようにPlaneGeometry( width*2, height*2, 300 )として縦横の2倍の大きさにしておきます。
材質オブジェクトのmaterialをMeshBasicMaterialとしてプロパティを{map:texture, transparent:true}とすることで、平面にキャンバス要素をテクスチャとして貼り付け、描画されていない部分は透過されるようになります。
文字を重ねて立体感を表現
配列とfor文を用いて、同じ3次元オブジェクトを10個生成し、z方向に0.5ずつずらして配置し、立体感が出るようにしています。
毎フレーム時に実行されるループイベント
全ての平面をz方向に移動
fo文を用いて、全ての平面のz座標を0.5ずつ加算していき、z方向へ移動させていきます。
これより、カメラは動かさず、平面が近づいてくることでズームを表現しています。
全ての平面が画面外に行った時の処理
一番奥の平面がカメラの位置(z=700)を超えたとき、キャンバス要素の全ての列のRainDropsを画面外となるように揃えます。そうすることで、一旦まっさらな状態となってから、再びコードの雨が降ってくるようになります。
そして、一番奥の平面がz=701となったとき、全ての平面が最初の位置に戻るようになっています。
ぜひ作ってみてください!


コメント