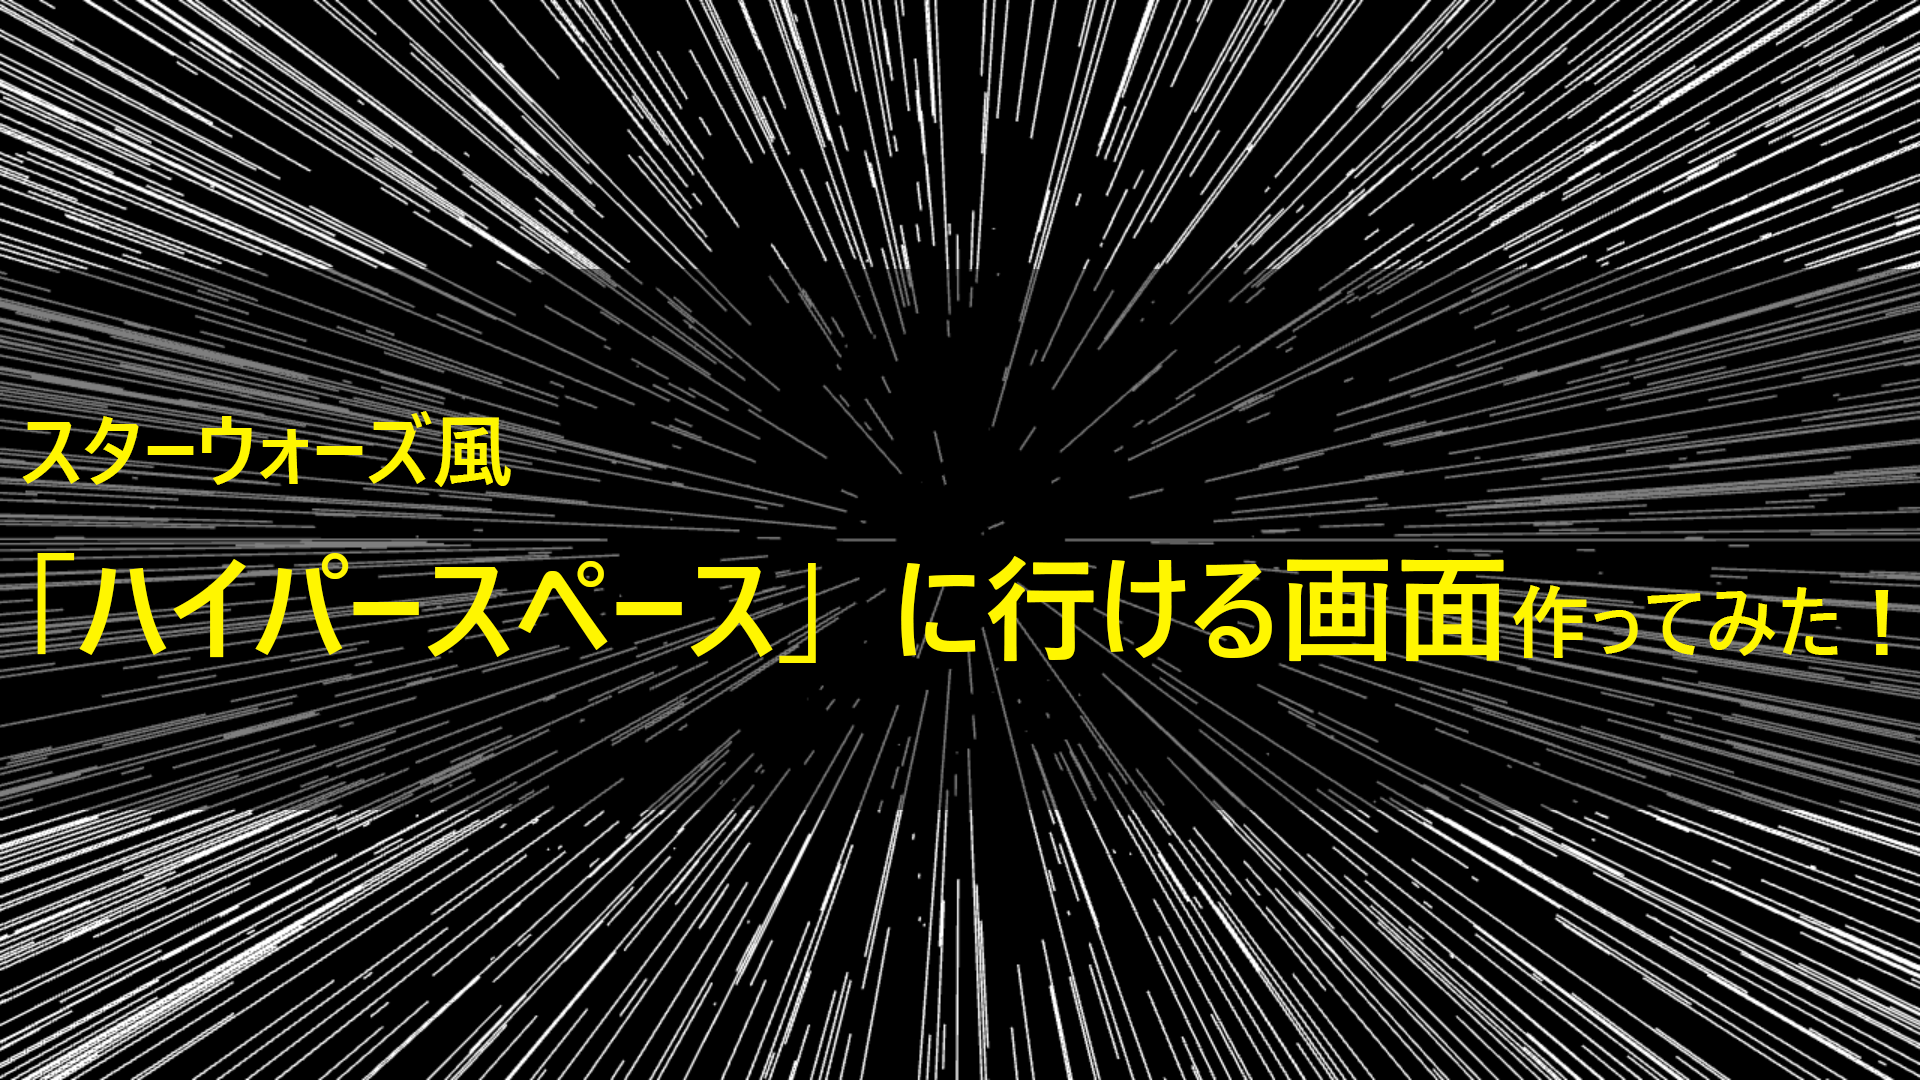
ハイパースペースへGO!
JavaScriptのライブラリの「Three.js」を用いて、スターウォーズ風な宇宙をワープするときを体験できるようなものを作りました!
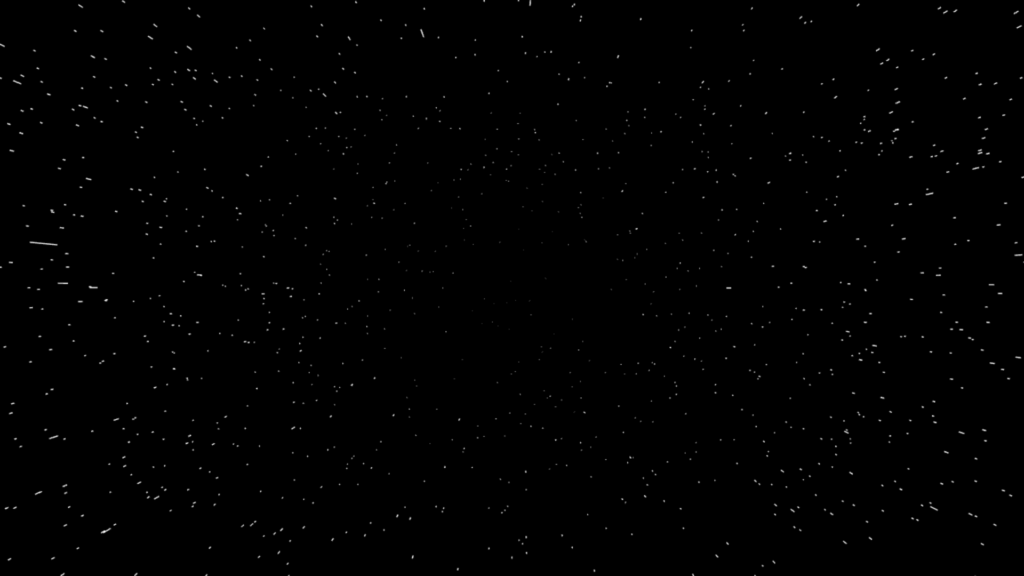
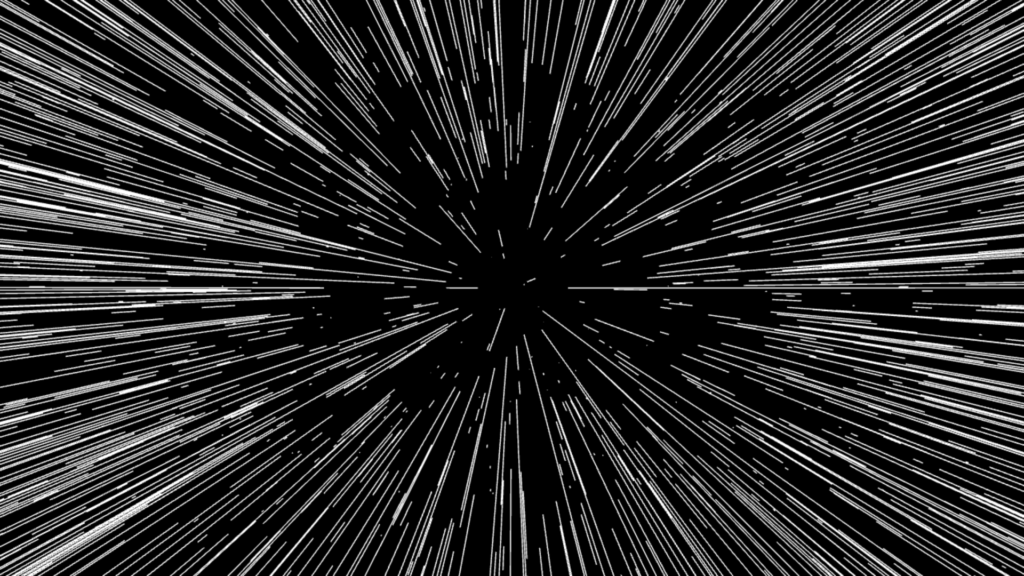
読み込んだ後の状態は、宇宙船の通常運転ですが、画面をクリックすると加速して、ワープします。
参考動画
- 3D Space Warp JavaScript Effect – Three.js Tutorial
- ThreeJS Warp Star Field with lines instead of dots
ソースコード
HTML(index.html)
<!DOCTYPE html>
<html>
<head>
<meta charset="utf-8">
<style>
    body{
    width:100vw;
    height:100vh;
    margin:0;
    background:black;
    overflow:hidden;
}
</style>
</head>

<body>
    <script src="three.min.js"></script>
    <script>
        var scene,camera,renderer;

        let go=false;

	//星の数
        let LINE_COUNT=2000;

        //形状オブジェクトの作成
        let geom=new THREE.BufferGeometry();
        geom.setAttribute("position",new THREE.BufferAttribute(new Float32Array(6*LINE_COUNT),3));
        geom.setAttribute("velocity",new THREE.BufferAttribute(new Float32Array(2*LINE_COUNT),1));
        let pos=geom.getAttribute("position");
        let pa=pos.array;
        let vel=geom.getAttribute("velocity");
        let va=vel.array;


        //初期化関数の作成
        function init(){
            //シーンオブジェクトの作成
            scene=new THREE.Scene();

            //カメラオブジェクトの作成
            camera=new THREE.PerspectiveCamera(60,window.innerWidth/window.innerHeight,1,500);
            camera.position.z=200;

            //レンダラーオブジェクトの作成
            renderer=new THREE.WebGLRenderer({antialias:true});
            renderer.setSize(window.innerWidth,window.innerHeight);
            document.body.appendChild(renderer.domElement);

            //線の位置決め
            for (let line_index=0;line_index<LINE_COUNT; line_index++){
                var x=Math.random()*400-200;
                var y=Math.random()*200-100;
                var z=Math.random()*500-100;
                var xx=x;
                var yy=y;
                var zz=z;

                //始点
                pa[6*line_index]=x;
                pa[6*line_index+1]=y;
                pa[6*line_index+2]=z+1;

                //終点
                pa[6*line_index+3]=xx;
                pa[6*line_index+4]=yy;
                pa[6*line_index+5]=zz;

                va[2*line_index]=va[2*line_index+1]=0;
            }

            //材質オブジェクトの作成
            let mat=new THREE.LineBasicMaterial({color:0xffffff});

			//3次元オブジェクトの作成
            let lines=new THREE.LineSegments(geom,mat);
            scene.add(lines);

            //ウィンドウのサイズと描画範囲の調整
            window.addEventListener("resize",onWindowResize,false);

            //アニメーション実行
            animate();
        }

        //ウィンドウのサイズと描画範囲の調整の関数の作成
        function onWindowResize(){
            camera.aspect=window.innerWidth/window.innerHeight;
            camera.updateProjectionMatrix();
            renderer.setSize(window.innerWidth,window.innerHeight);
        }

        //ハイパースペースへのスイッチ
        document.body.onclick=function(){
             console.log("click")
            if(go==false){
            go=true;
            }
            else{
                go=false
            }
         };

        //アニメーションの関数の作成
        function animate(){
            for (let line_index=0;line_index<LINE_COUNT;line_index++){

                //スイッチオン
                if(go){
                va[2*line_index]+=0.03;

                va[2*line_index+1]+=0.1;
                }

                //スイッチオフ
                else{
                va[2*line_index]+=0.01;

                va[2*line_index+1]+=0.01;
                }
                //線の始点のz座標
                pa[6*line_index+2]+=va[2*line_index];

                //線の終点のz座標
                pa[6*line_index+5]+=va[2*line_index+1];

		//終点が画面外に出た時の処理
                if(pa[6*line_index+2]>200){
                        var z=Math.random()*200-100;
                        pa[6*line_index+2]=z;
                        pa[6*line_index+5]=z+1;
                        va[2*line_index]=0;
                        va[2*line_index+1]=0;
                    }
                }
                pos.needsUpdate=true;
                renderer.render(scene,camera);
                requestAnimationFrame(animate);
            }
        init();

    </script>
    <canvas width="316" height="1047" style="width:316px; height:1047px;">
        </canvas>
</body>
</html>
今回使っているライブラリの「Three.js」についての基本的なことは、「Three.js入門サイト」にとてもわかりやすくまとめられているので、ぜひご覧ください。
形状オブジェクトの作成
ここでは形状オブジェクトとして、「BufferGeometry」を適用しています。
位置が格納されるposと、速さが格納されるvaを定義しています。
位置は線の始点x,y,z座標と終点のx,y,z座標の6成分で、速さは、線の始点の速さ、終点の速さの2成分です。
線の位置決め
形状オブジェクトの作成で定義した型付き配列を星の数(LINE_COUNT)の分だけそれぞれ初期値を与えていきます。
始点と終点はx座標、y座標を同じにして、z座標のみ終点を+1させておきます。(z方向に長さ1の線)
ハイパースペースへのスイッチ
ここで画面をクリックすることで、変数goのtrue,falseが切り替わるようにしています。
アニメーションの関数の作成
ここでフレーム毎の処理を書いていきます。毎フレーム、pa(位置)にva(速さ)が加えられ、線が移動していきます。
スイッチオン
go=trueとなっているときは、始点と終点の速さの差をつけて、z方向に線が伸びるようにしています。
スイッチオフ
go=falseとなっているときは、始点と終点の速さを同じにして、長さ1の線が等速で飛んでいくようにしています。
終点が画面外に出た時の処理
終点のz座標が200を超えて、画面外に出ると、再びz座標の初期値が設定さるようになっています。
ぜひ作ってみてください!
コメント